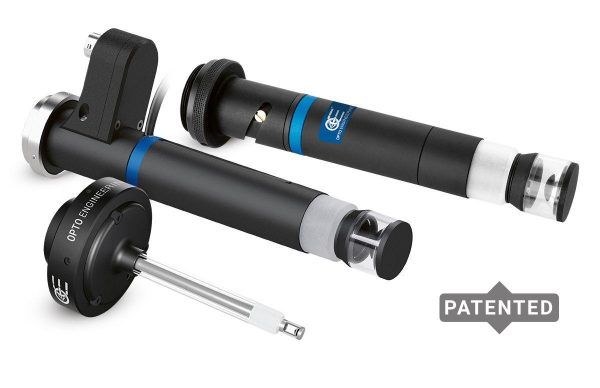
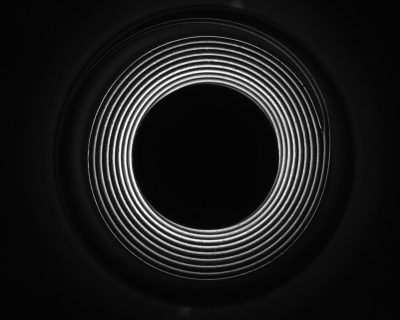
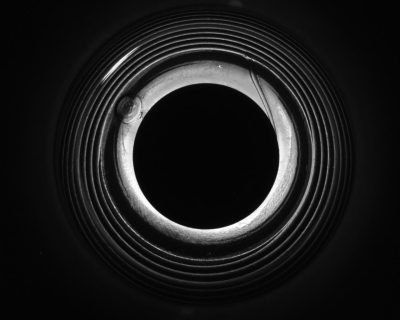
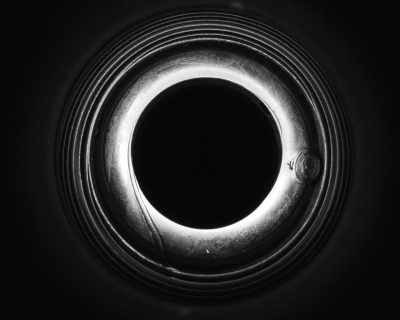
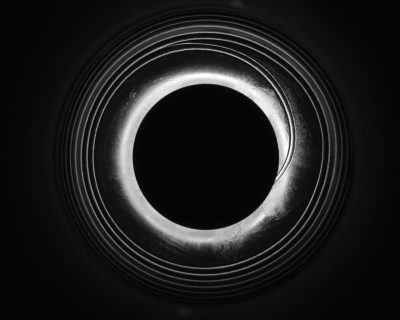
PCBP series
Boroscopic probes for panoramic cavity imaging from inside
Key advantages
- Inspection of cavities from inside
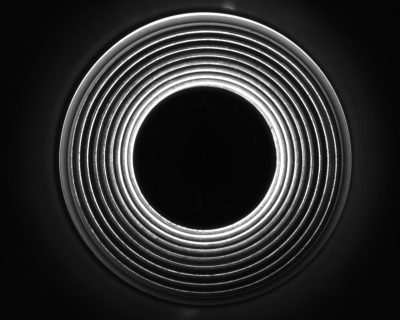
Hidden internal features and defects are clearly viewed - High resolution
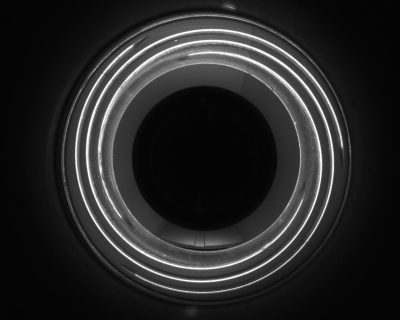
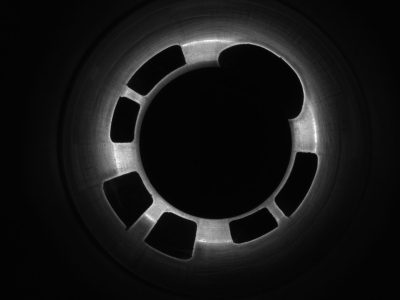
The catadioptric design enables the detection of tiny defects over a very wide angle of view - Flaw detection
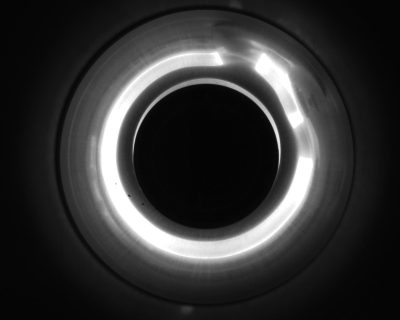
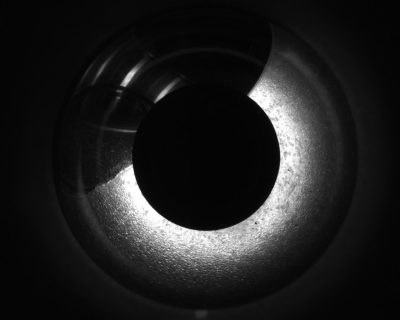
Coarse deformations revealed using direct illumination - Surface defect enhancement
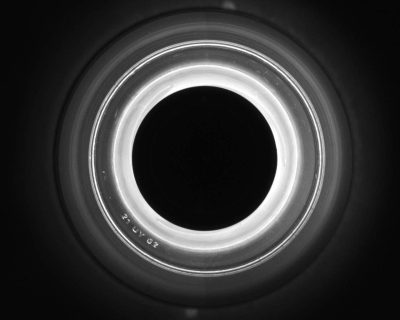
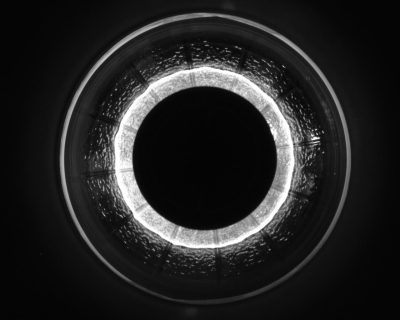
Mixing direct and indirect illumination makes it possible to emphasize tiny and scarcely visible defects. - Small diameter inspection
Now down to 5.5 mm - New integration with Optotune liquid lens technology
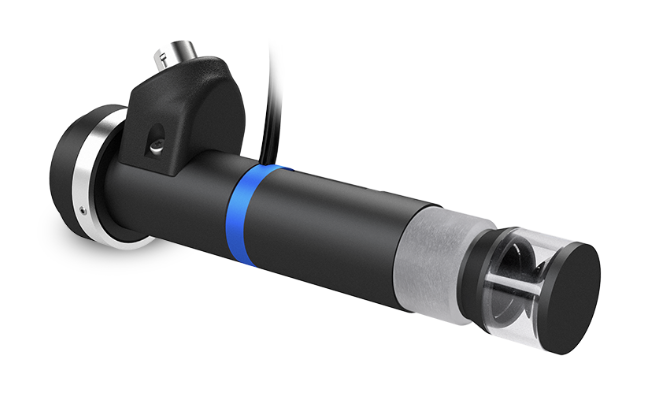
PCBP-AF boroscopic probes allow for an extremely fast and repeatable change in focus
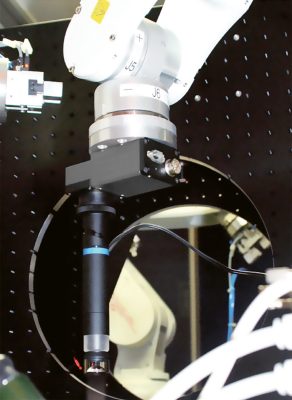
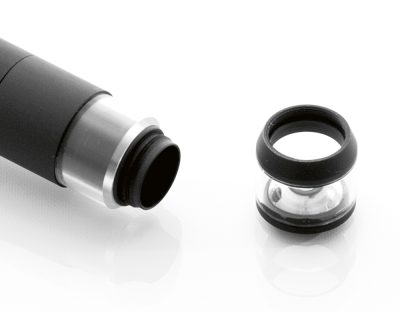
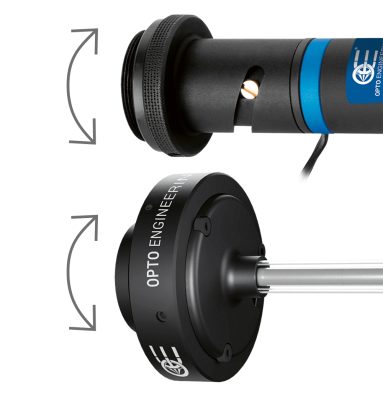
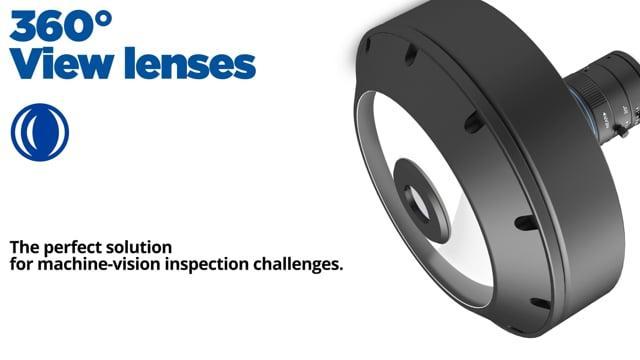
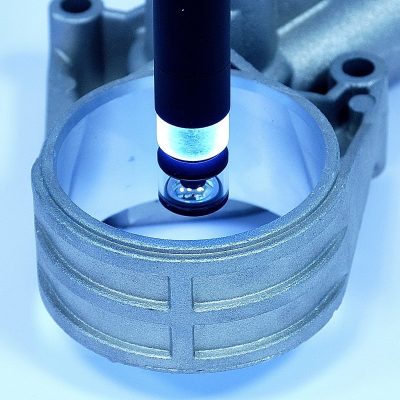
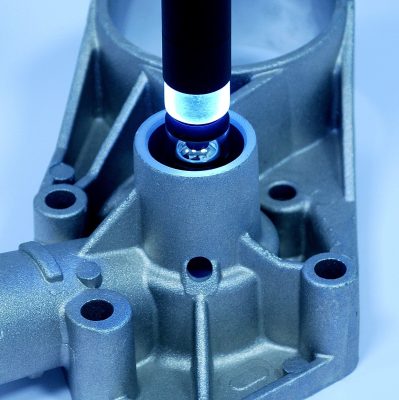
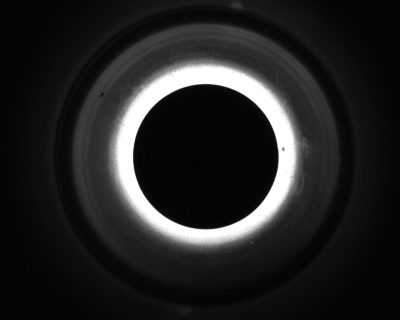
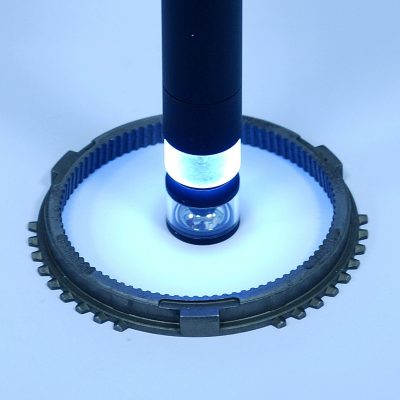
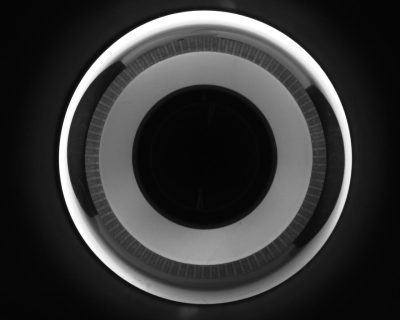
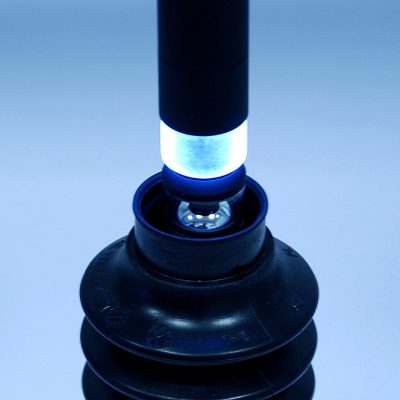
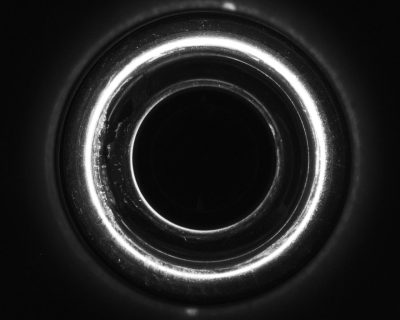
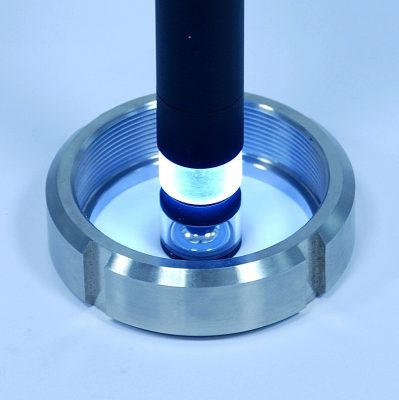
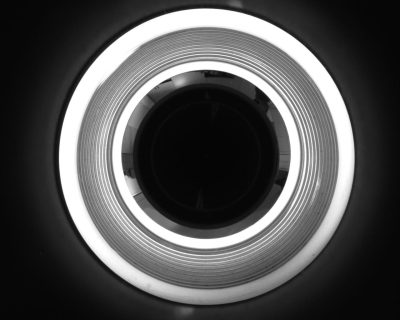
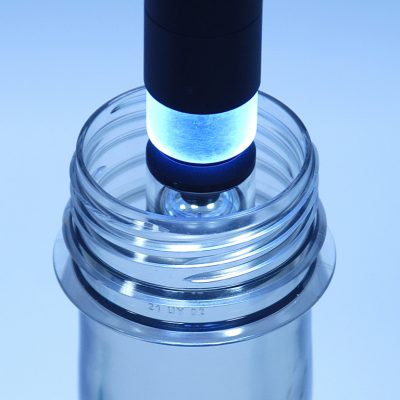
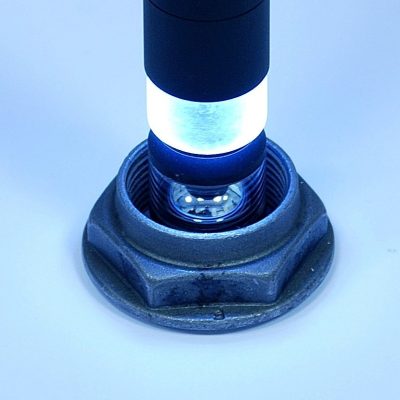
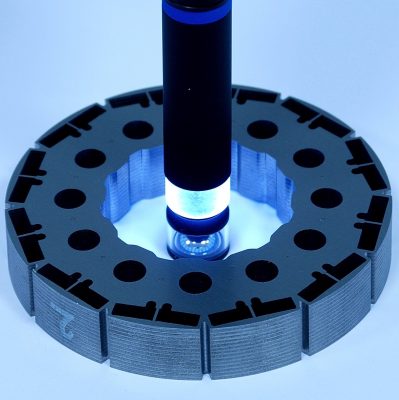
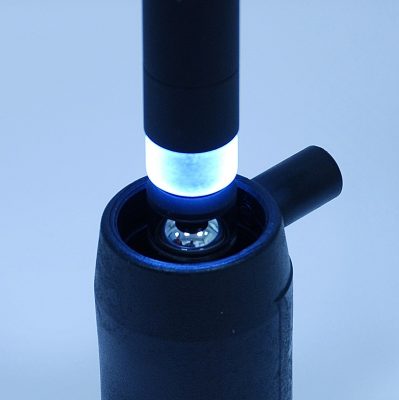
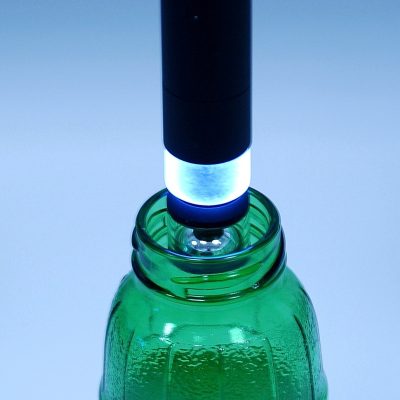
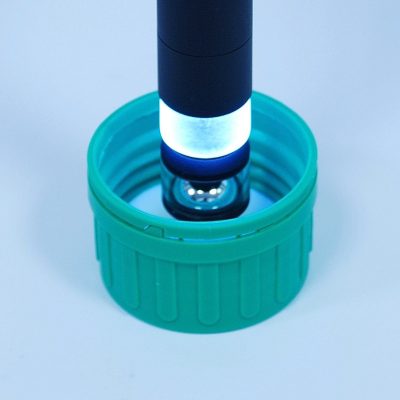
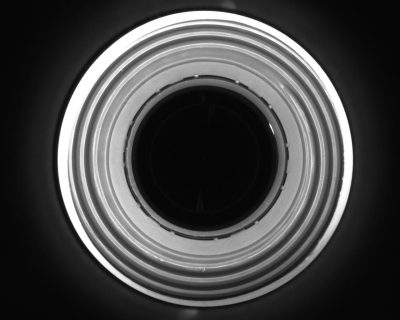
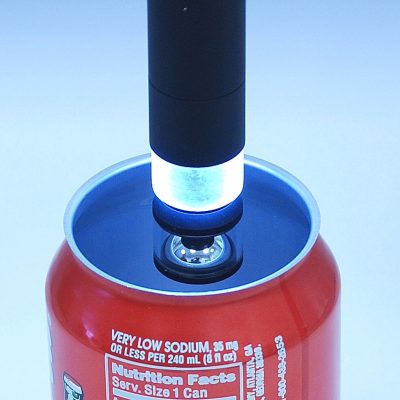
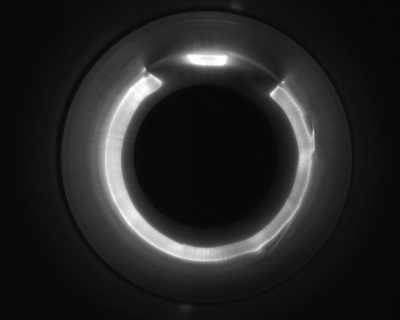
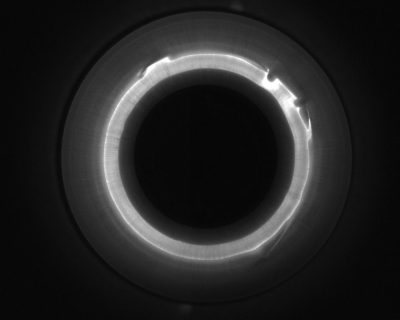
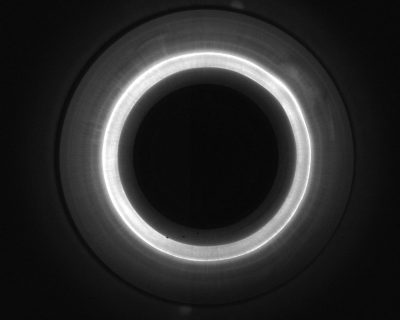
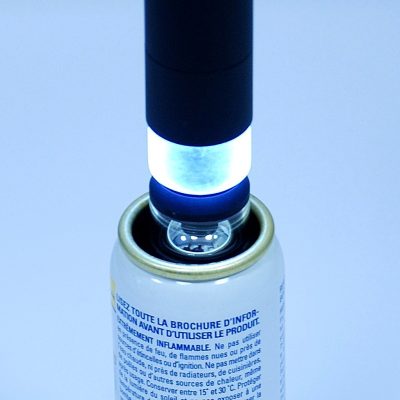
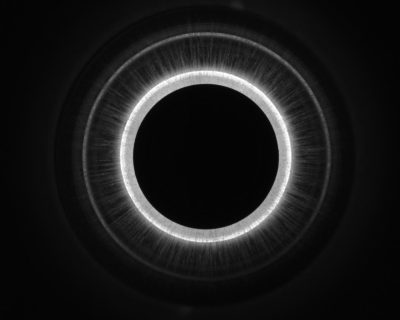
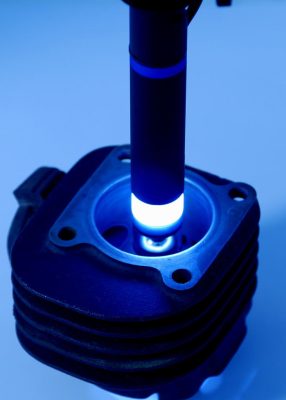
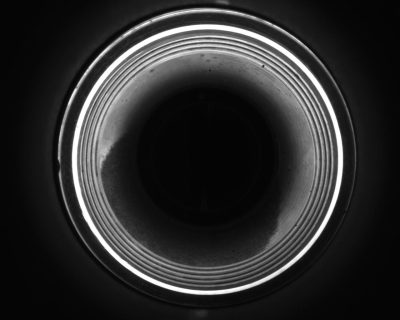
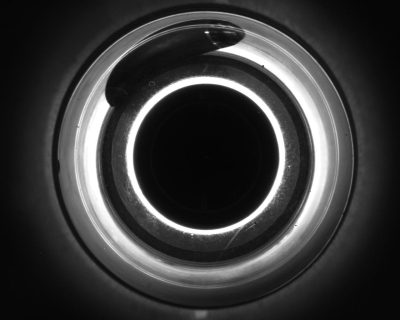
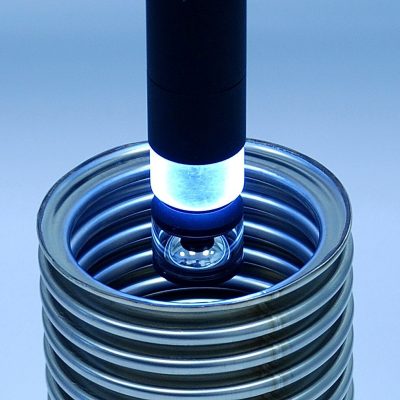
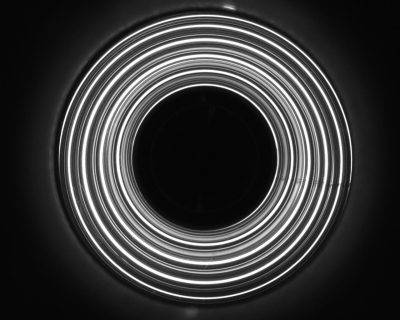
PCBP probes are used to inspect hollow objects such as engine parts, containers and tubes whose hidden features can only be controlled by introducing a probe into the cavity. The catadioptric (refracting + reflecting) optical design ensures much higher resolution than fiber-based probes and enables the complete 360° inner view of the entire cavity. Boroscopic probes are intended to be handled by a robot arm or S.C.A.R.A. in order to scan even the deepest cavities. Built-in illumination keeps the device very compact and makes it suitable for simple 3D applications by means of panoramic triangulation techniques.
PCBP series also features new models with integrated Optotune liquid lenses for immediate focusing at different working distances (PCBP-AF). The integration of the liquid lens technology into the optical design of the boroscopic probes ensures optimal performances and maximum flexibility.
Notes
- Working f-number (wf/N): the real f-number of a lens in operating conditions.
- Tolerance ± 2%
- Used in continuous (non-pulsed) mode.
- Constant voltage power supply
- Constant current power supply
- Measured from the front end of the mechanics to the camera flange.
Additional notes
- Recommended use of a 1/2" sensor as the image may be decentered
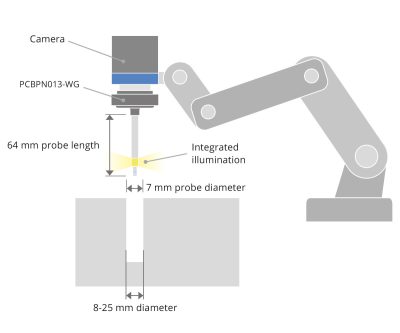
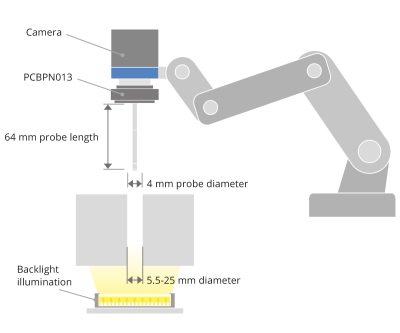
PCBPN for inspection of holes with diameters between 5.5 and 25 mm
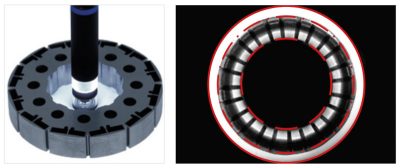
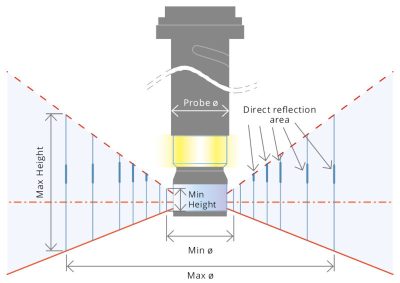
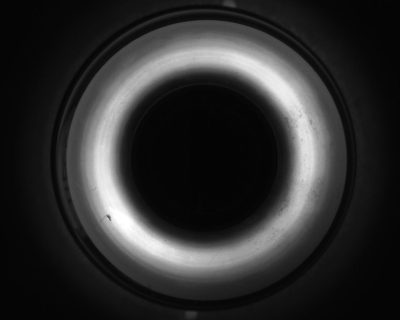
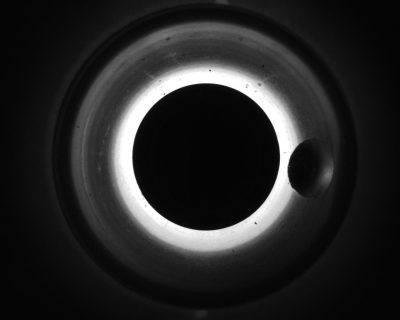
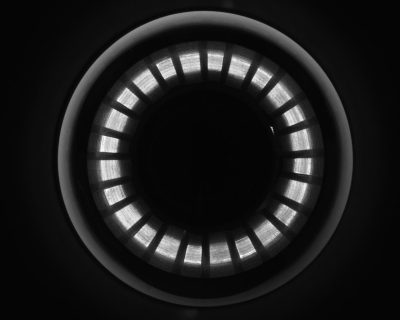
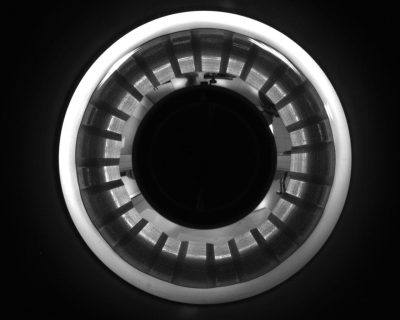
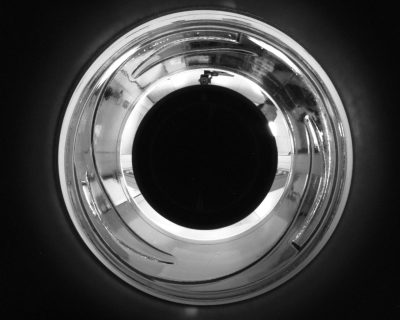
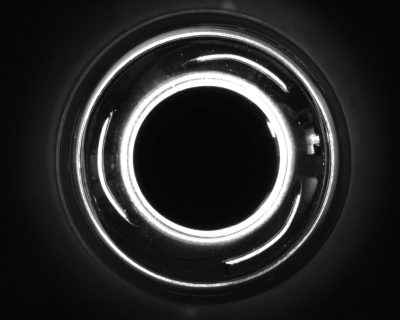
An integrated LED source (for PCBP0xx and PCBPN013-WG) illuminates the cavity both diffusely and directly. The diagram on the left shows the different illumination areas. Diffused illumination is used for defect detection and component inspection.
Direct/specular illumination can be efficiently used to check for surface deformation on metal and highly reflective objects as well as to measure the hole diameter.
The image of the cavity covers around 50% of the detector height: the continuous red line indicates the bottom view of the cavity, the dashed line shows the upper view while the dash-dotted line refers to the undercut view on the cavity.
Inspection area
PCBP probes can image cavities whose diameter ranges from 5 mm to 100 mm and over: the table below shows the inspection range allowed.
| Diameter (mm) | Height (mm) | Suggested P/N model |
| 5.5 | 3 | PCBPN013 |
| 10 | 6 | PCBPN013, PCBPN013-WG |
| 15 | 9 | PCBPN013, PCBPN013-WG |
| 20 | 12 | PCBPN013, PCBPN013-WG |
| 25 | 9 | PCBP0xx |
| 30 | 12 | PCBP0xx |
| 40 | 18 | PCBP0xx |
| 50 | 23 | PCBP0xx |
| 60 | 29 | PCBP0xx |
| 80 | 41 | PCBP0xx |
| 100 | 53 | PCBP0xx |
Boroscopic probes with liquid lens technology
The new PCBPxxx-AF models feature an integrated liquid lens for fast and accurate focusing of different diameters. Optimized for sensors up to 2/3", these lenses further enhance the extreme versatility of the probes.
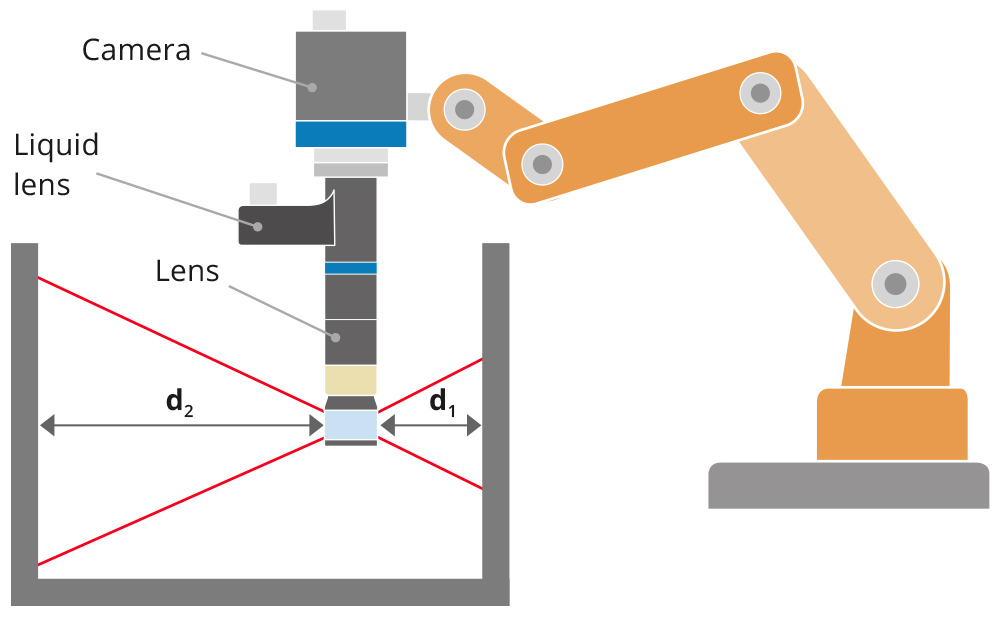
The refocus (automatic or manual) in PCBP probes is used to compensate for any inaccuracies in positioning inside the sample which is very often done by a robotic arm. These inaccuracies may be due to:
- positioning (centering) by the robotic arm itself;
- samples of different sizes and with features to be focused one at a time.
These samples may require checks such as the presence/absence of defects within a groove (can be dirt, threads, burrs), or data matrix reading.

