ITALA® cameras for quality control of metal turned components
Case history AML
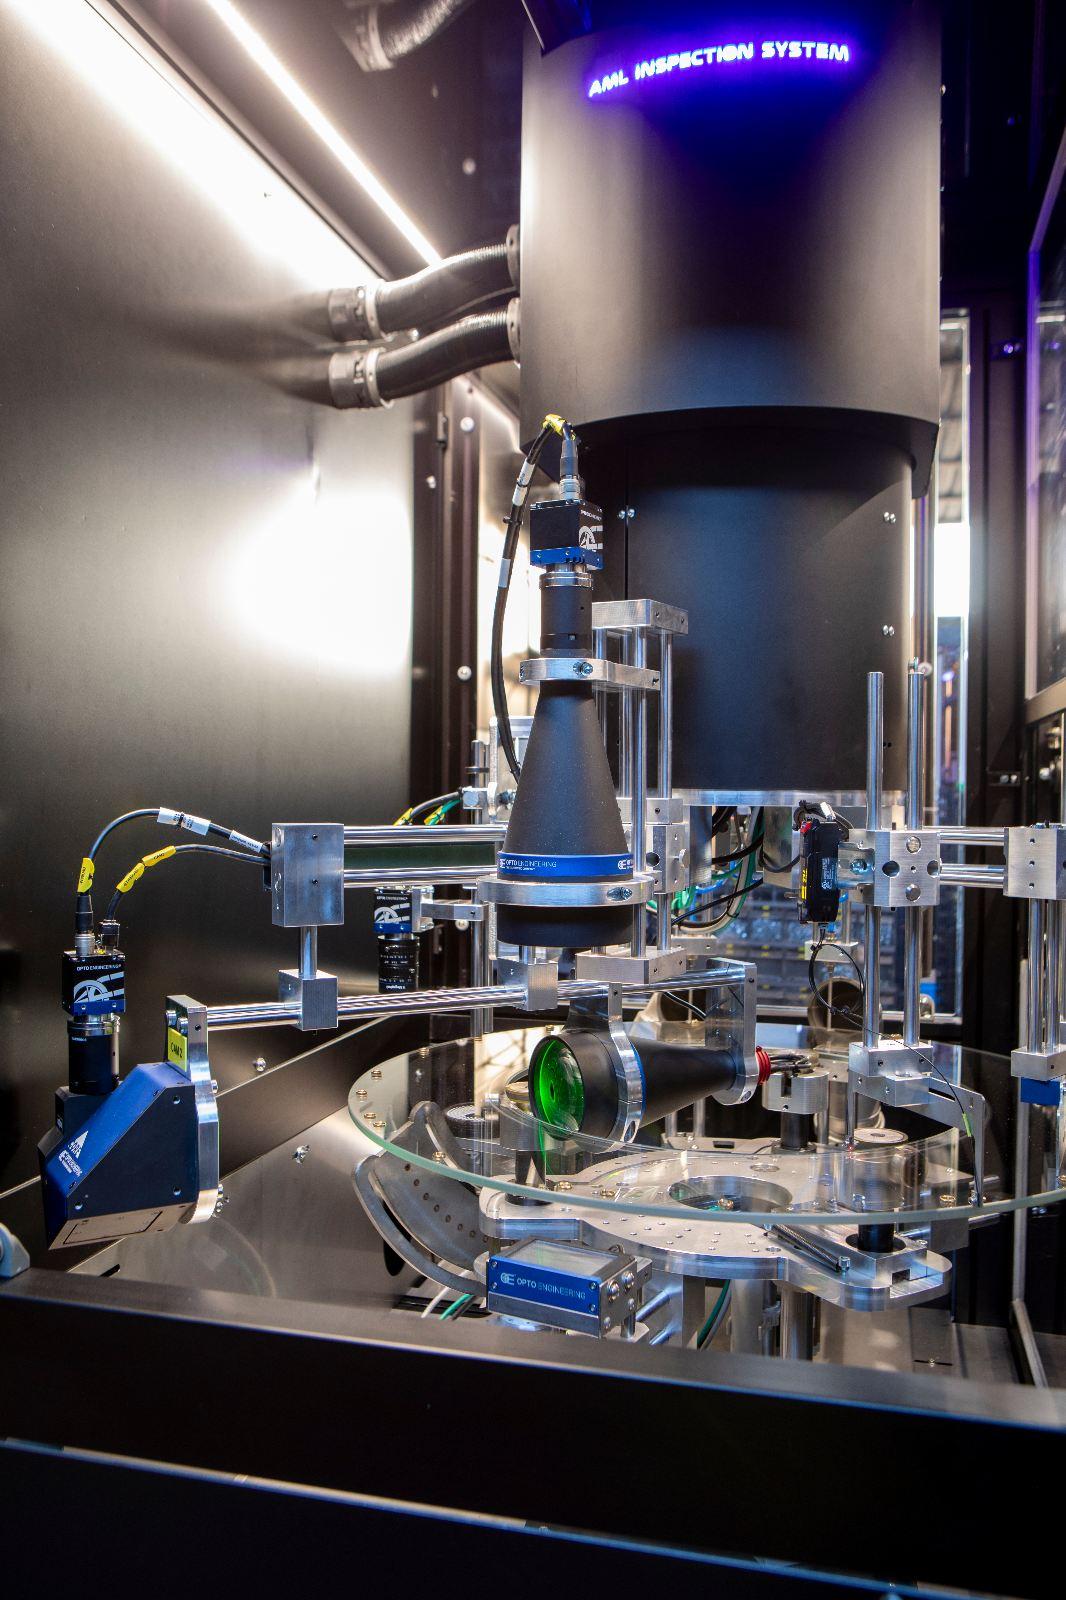
AML designed a vision system featuring a rotary glass table where cylindrical metal components are measured and inspected at the maximum speed of 30.000 pieces per hour. The parts feature diameter and height dimensions between 3 mm and 50 mm.
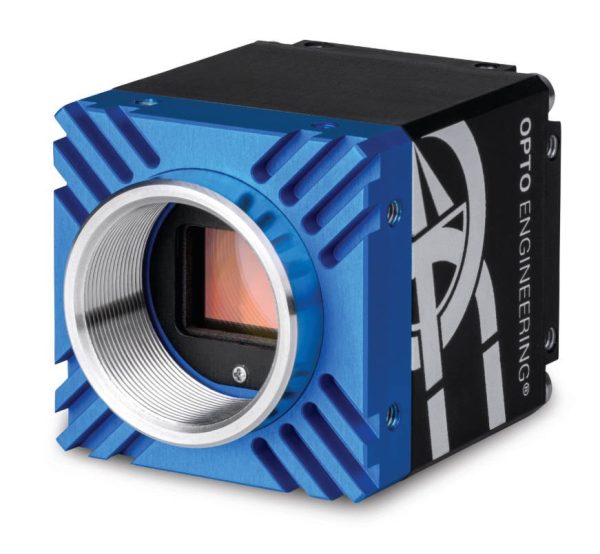
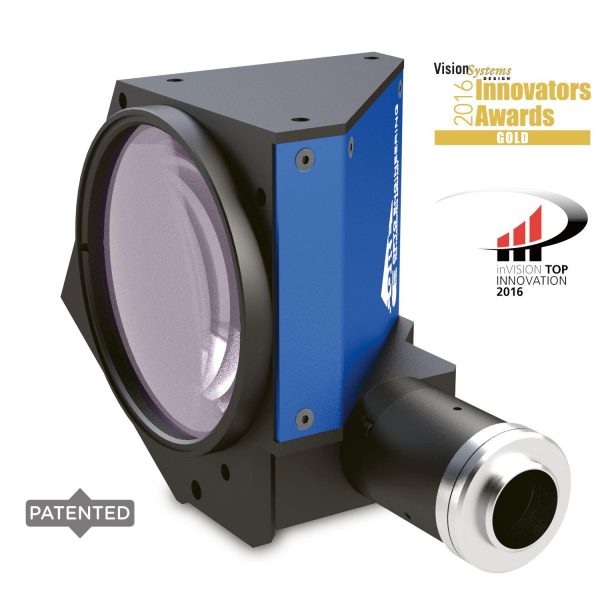
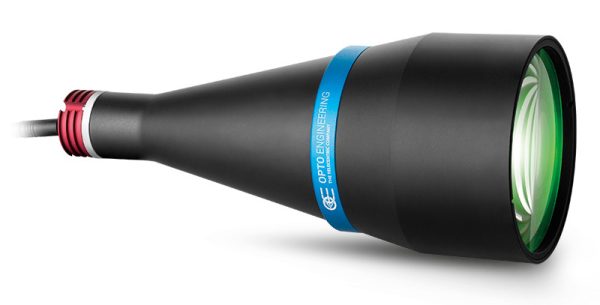
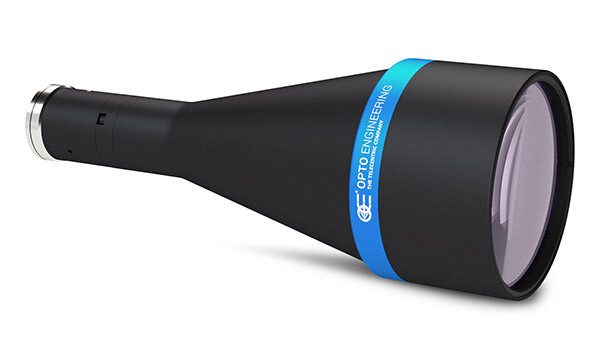
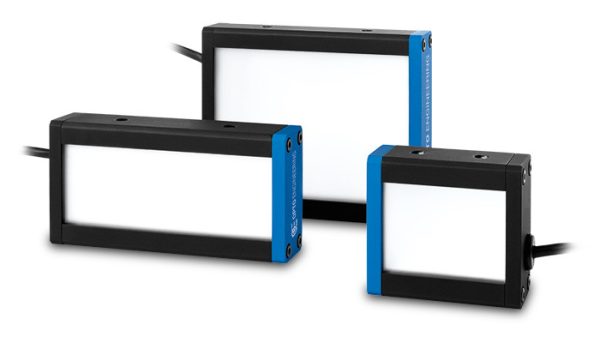
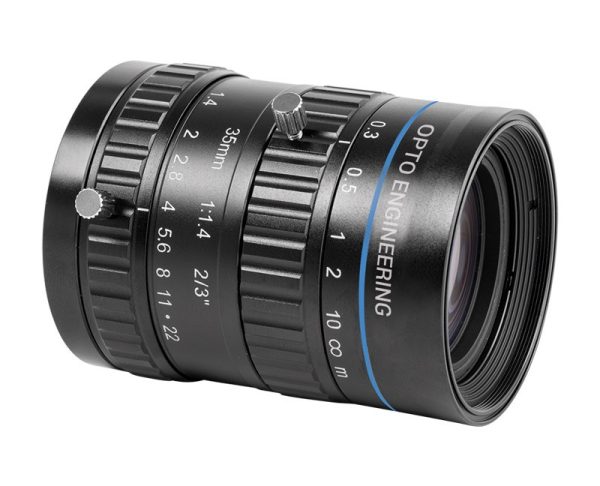
The system uses 3 ITALA G GigE area scan cameras: a 12MP camera combined with a telecentric lens and a backlight to measure the part diameter, another 12MP camera combined with a telecentric CORE optics and a collimated light illuminator to measure the part height and a third 5MP camera combined with an Opto Engineering fixed focal length lens for surface inspection.
The case
Machine vision is extensively employed in the automotive industry to solve many different applications. In this case history, ITALA® cameras from Opto Engineering are used for measurement and quality control of metal-turned components in a vision system made by AML.
Why ITALA® cameras?
AML chose to use ITALA® cameras from Opto Engineering because of their excellent performance.
Integration within the vision system was very quick, as was the firmware update thanks to the very intuitive and user-friendly Itala View software.
A key aspect for AML was the build quality of the ITALA® cameras: the milled aluminum body dissipates heat very well and the steel threading is very solid, features that are indispensable in an industrial environment.
AML recommends Opto Engineering because of the competent and quick technical support, the wide range of products available and the possibility of testing products at their premises before purchase.

